A little while ago, I gave a talk at a Daemon Cloud Community event on a little tool called k9s (pronounced like “canines”, as in dogs).

k9s is a TUI — Text-based User Interface (and not a travel company), and if you haven’t already guessed it is an interface for Kubernetes (k8s — now you get the name).
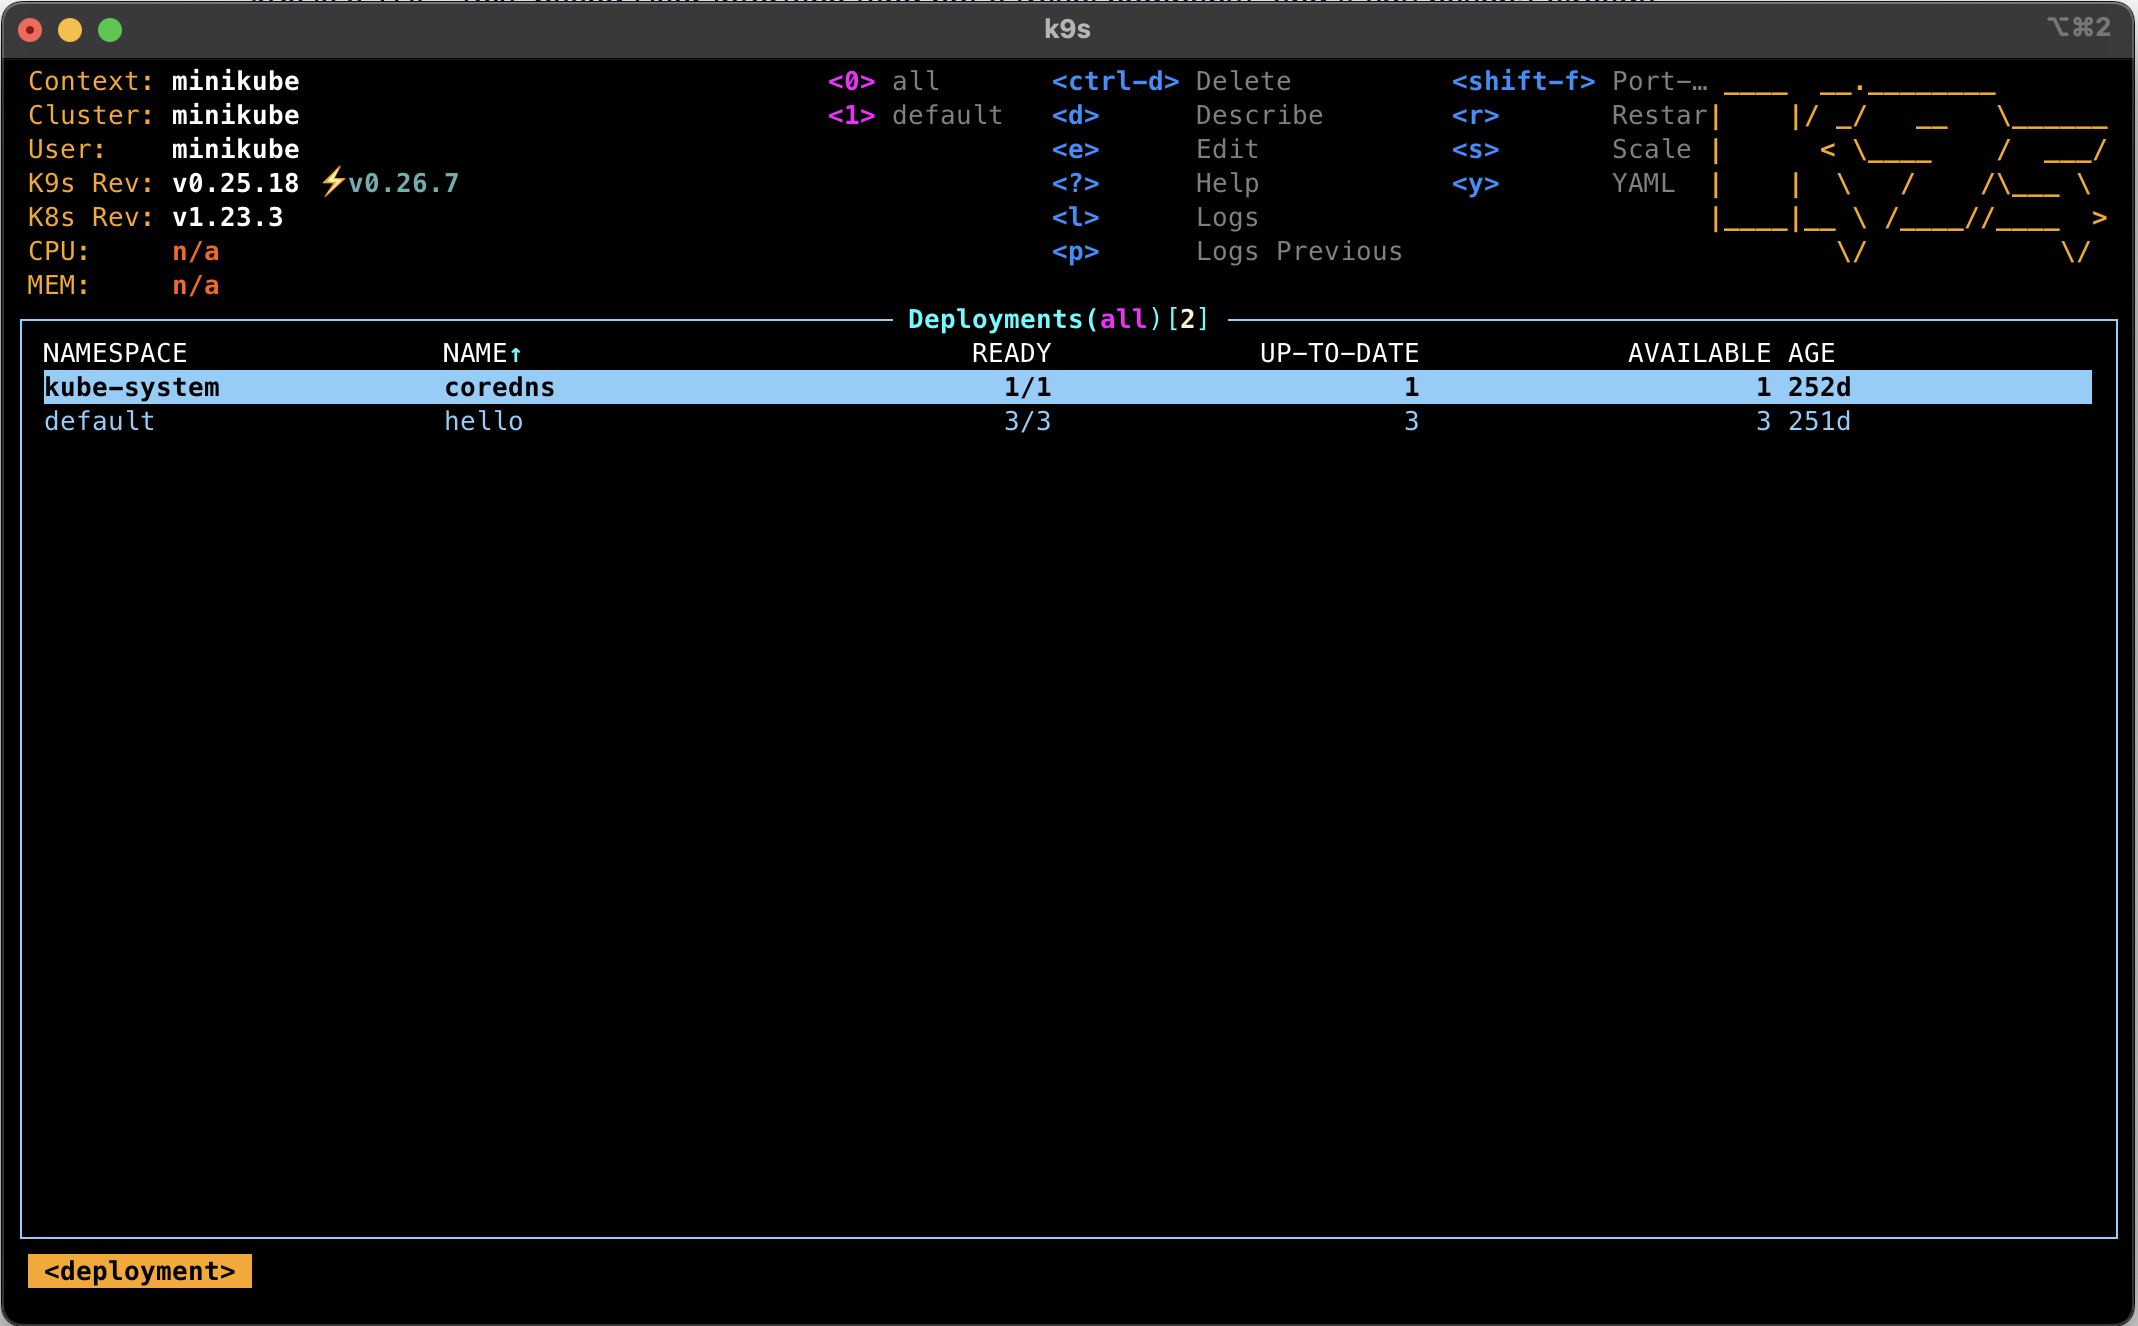
I can hear the sound of mashing keyboards now racing to tell me that the best way to learn Kubernetes is to use the CLI, so I’ll head that off now and say “Yes, it is”. But that doesn’t diminish the usefulness of k9s to users of all skill levels, particularly for debugging.
Some cool features
- Supports all native resources as well as CRDs
- Multi-select resources like pods for quick operations
- Automatic data refresh — looks way better than a watch
- Easy to quickly switch namespaces
- Get a shell in a container in as little as 1 keystroke!
Navigation
Here are a few tips on navigating with k9s.
Help
Some good news (or bad news) is that the interface is designed to work like VIM. The first thing I always recommend doing is to hit ? (Question Mark) to bring up a list of controls. This is fairly exhaustive, I’ve not yet found a command hidden away and not visible on this menu.
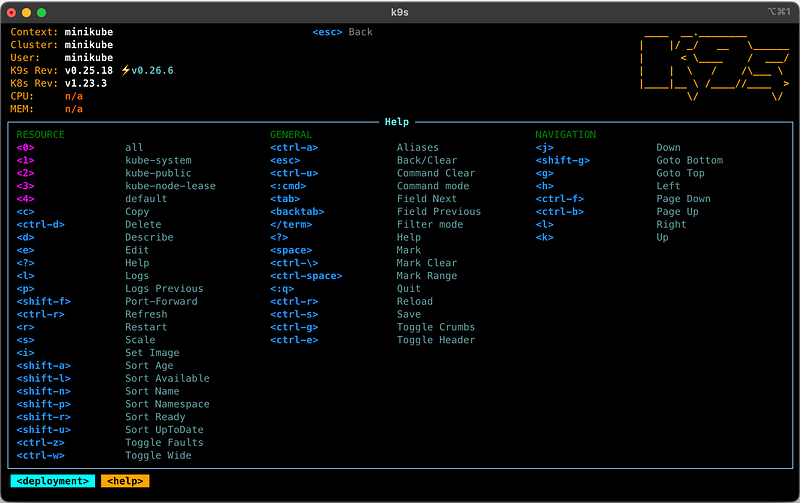
The help menu is contextual, so it will have different tips depending on the resource types you are looking at.
It’s worth remembering that the same key can have different purposes depending on context too. For example, on nodes, r will drain them rather than restart for pods.

Changing Resources
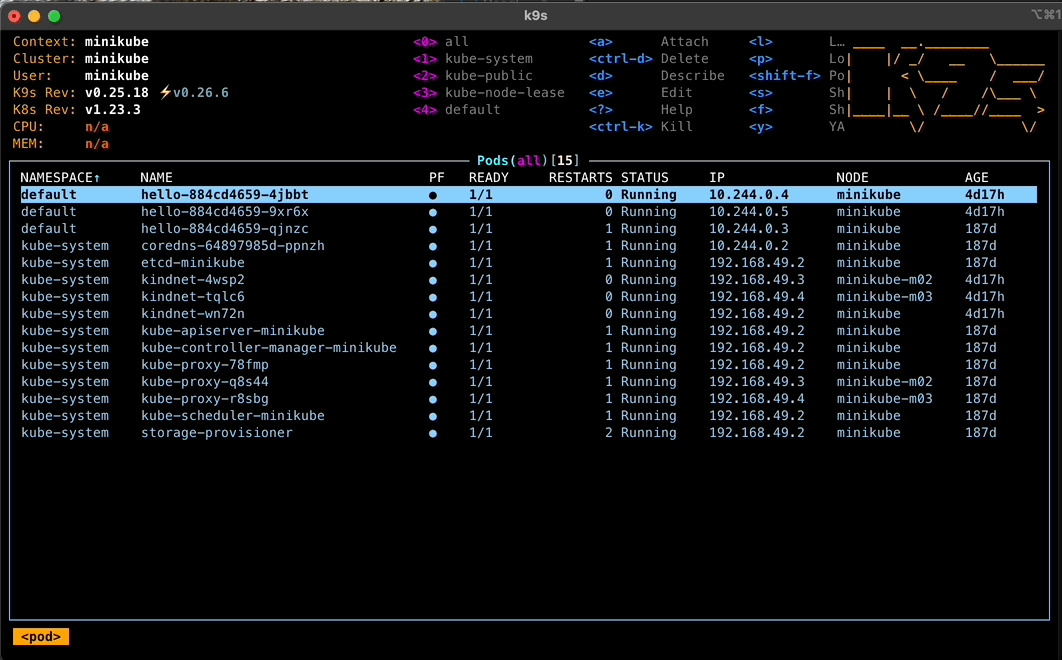
To move around k9s, you will be hitting one button a lot: :. Whenever you need to select a new resource type to look at, simply hit colon and then type in the name of what you want.
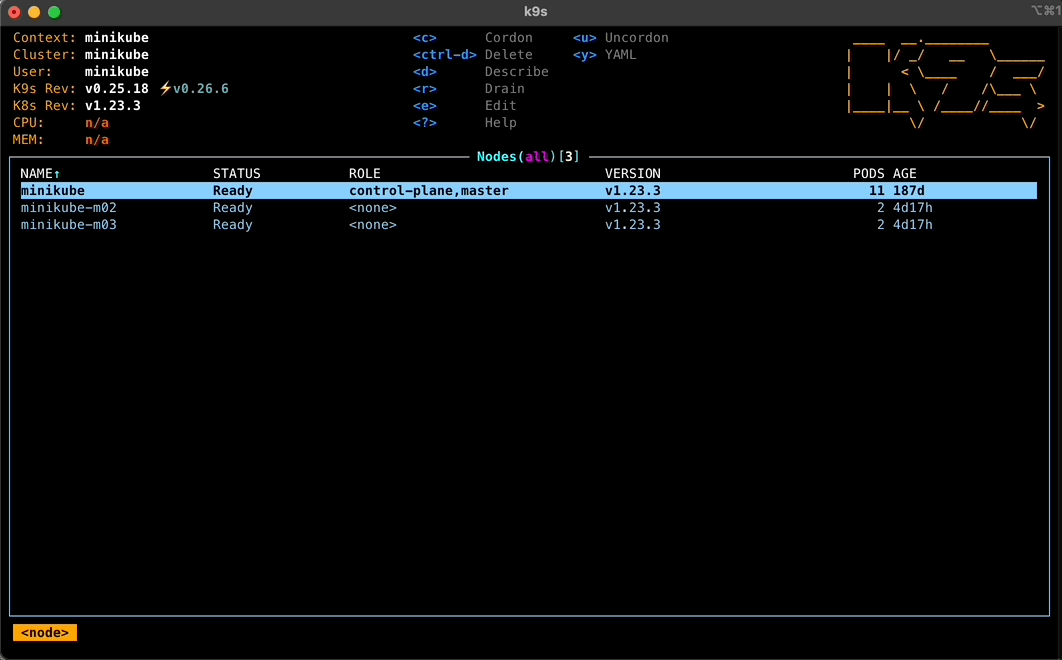
For example, if I wanted to look at nodes I would hit : and then type in node or nodes.
Searching
You can search for things in most panes by hitting / . You can then type the text you’re looking for. It searches across several fields for each resource too, so you can do things like searching for mylabel=foo to find all the pods with the label mylabel set to ‘foo’.
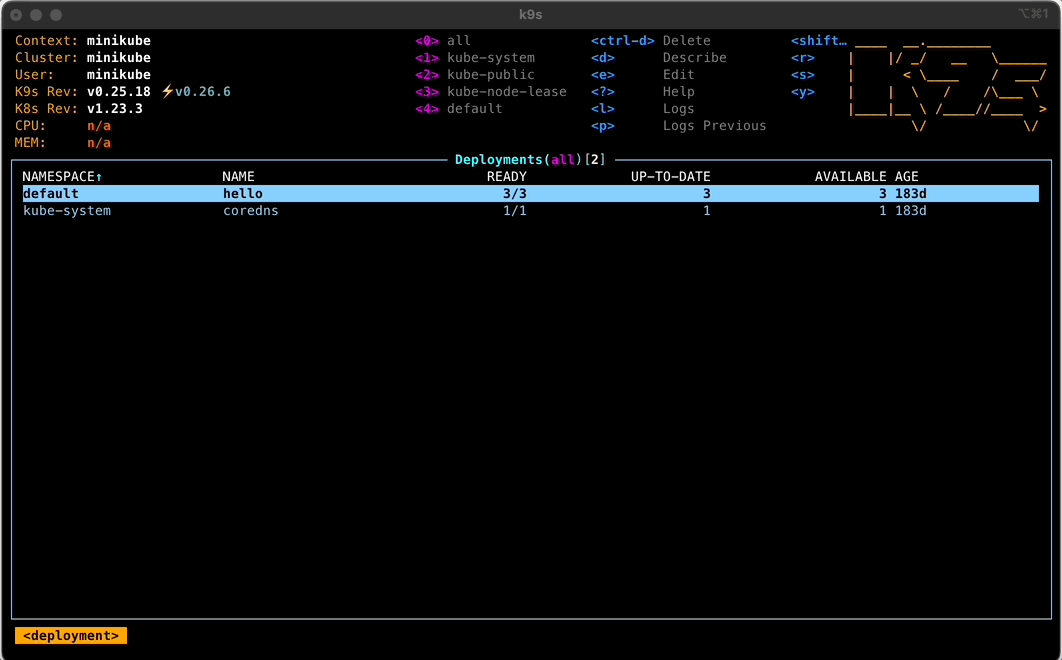
Switching Namespaces
You have a few methods to switch namespaces, the most basic is to switch to the namespace view. Simply hit : and then type namespace (or ns if you’re cool enough to use shortcuts).
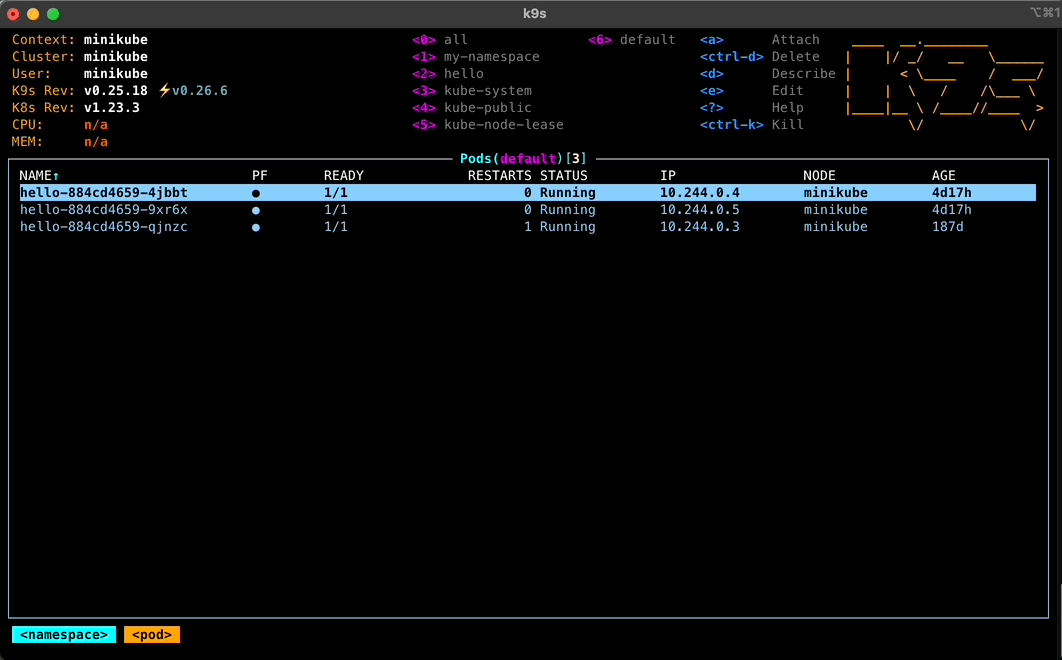
Another great feature in k9s are the namespace ‘breadcrumbs’, with recently visited namespaces being accessible through keys 1–9, and 0 for all resources.

Multiselecting resources
This is a really simple one, when on a list that supports it just hit the spacebar, and it’ll change the colour of the resource to green to indicate you have it selected.
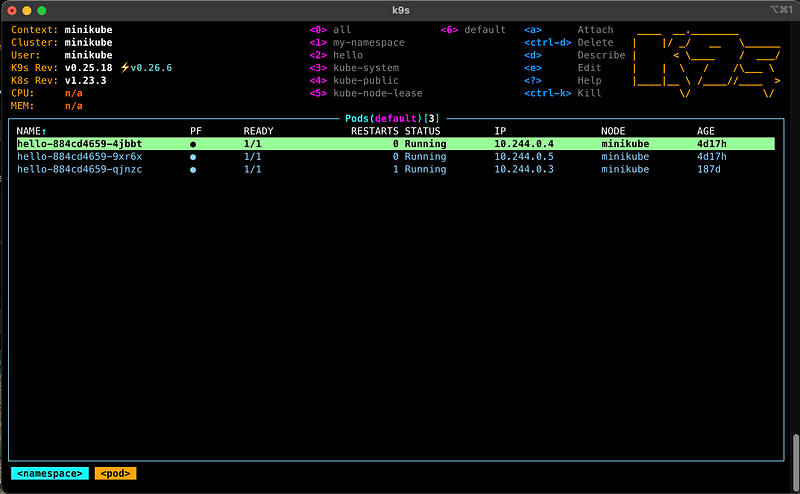
Once you have all the resources you want to work with selected, just press the relevant button, for example, ctrt+d to delete all of them in one go!
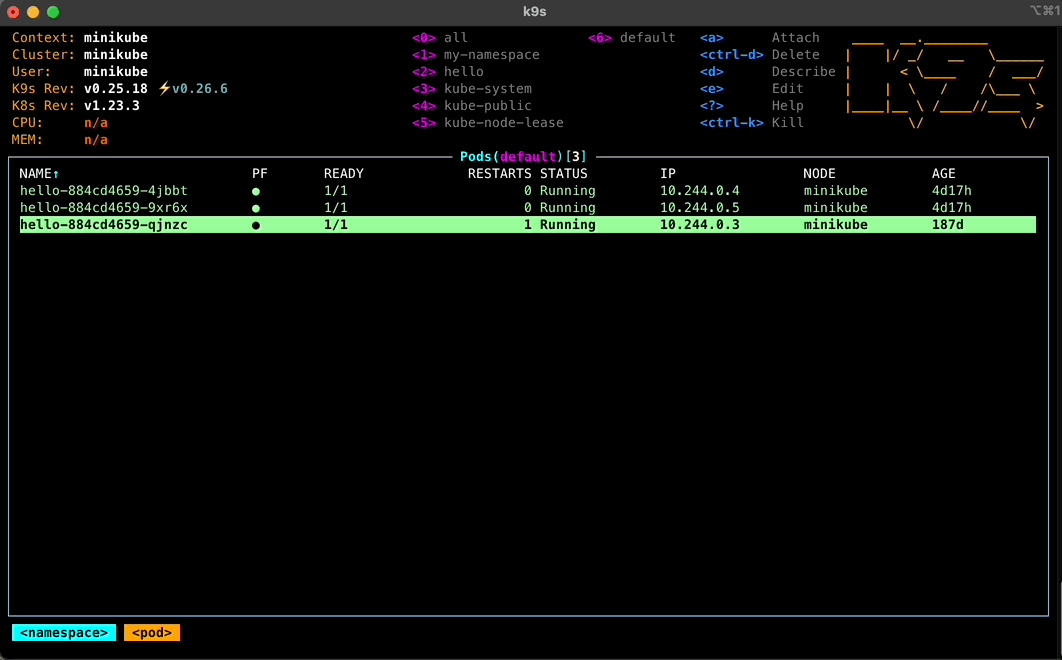
Next up, you can try using ctrl+space, this lets you select a range of items. Practical if everything that needs clearing is part of a sequence.

So when should I use k9s?
Right now! Or, whenever you want really.
I do suggest that if you are new to Kubernetes or studying for an exam like the CKAD or CKA that you limit your usage of k9s as much as possible for the time being.
If you are new to the technology this will do almost too much of the hard work for you, when you need to be “getting stuck in the weeds”.
If you are studying for the official exams then k9s won’t be available to you when you take it, so don’t let it become a crutch!
Otherwise, I recommend k9s for daily Kubernetes administration and usage. It has made my life so much easier. You can find out more about it here.