
(or Guake and other Drop-Down Terminal Emulators)
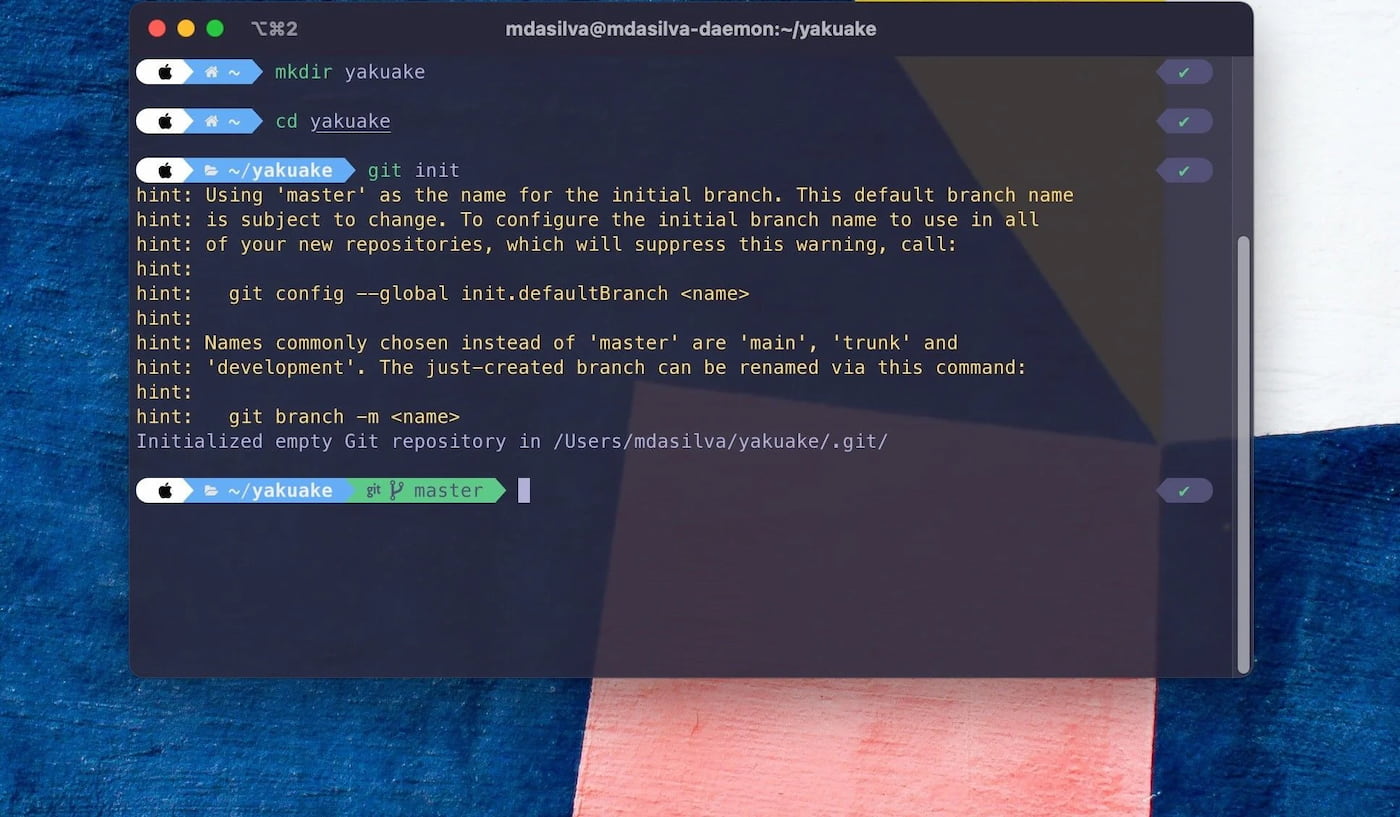
The out of the box experience you get with iTerm leaves a lot to be desired. To say it’s not easy on the eye is an understatement. The prompt is lacking and there’s no syntax highlighting to name a few misdemeanours. And if you ever use it to edit text, it’s certainly not sublime... Coming to macOS from Manjaro Linux and KDE plasma, I was desperate to recreate Yakuake, a beautiful drop down terminal emulator that smoothly ejects on the press of a hotkey. It has a statusline prompt, autocompletion, highlighting and a cool theme with no initial setup. I’d get a buzz everytime I hit my F12 key, and I needed to recreate that experience.
Fortunately I found it’s not too much work to give iTerm makeover. So if your terminal still looks like this:
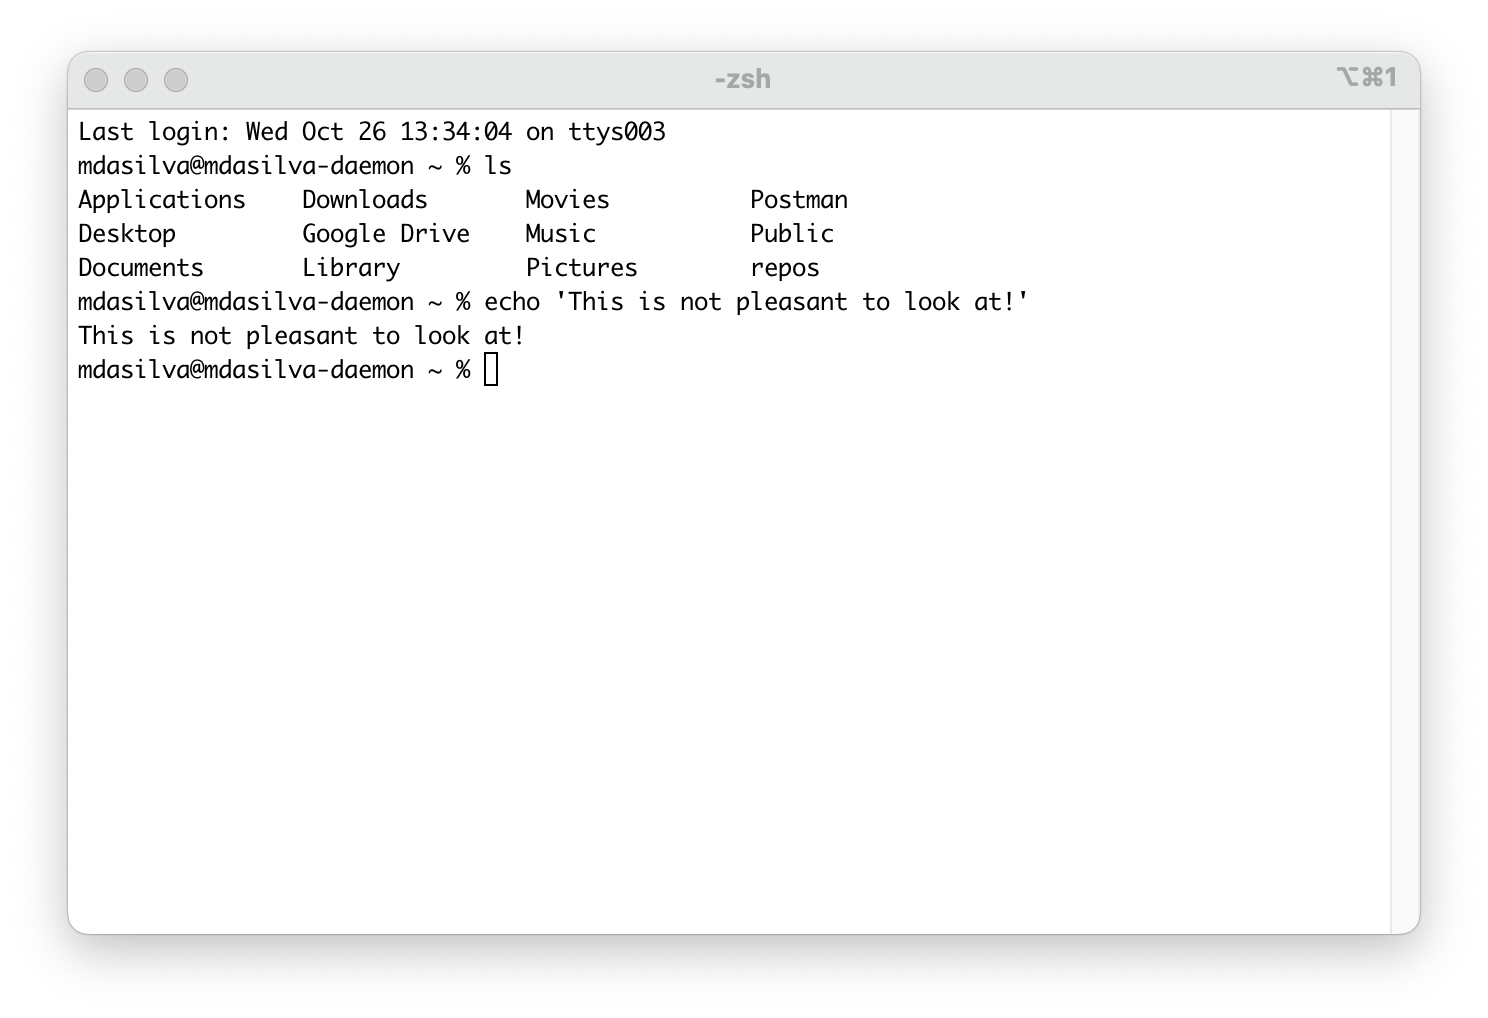
Fret not, your pain will soon be over…
Install Oh My Zsh
First let’s make Z Shell look pretty. Unlike Bash, Zsh is highly customisable. Oh My Zsh is a very useful tool to make that easier by managing your Zsh configuration. We’re going to use this to set a more desirable theme.
To install via curl:
sh -c "$(curl -fsSL https://raw.github.com/ohmyzsh/ohmyzsh/master/tools/install.sh)"To install via wget:
sh -c "$(wget https://raw.github.com/ohmyzsh/ohmyzsh/master/tools/install.sh -O -)"Just note: The installer will create a new ~/.zshrc file. If you have an existing one (not default on macOS) it will be renamed to ~/.zshrc.pre-oh-my-zsh .
Install Powerlevel10k
Powerlevel10k is a quick, flexible, out-of-the-box theme for Zsh that uses powerline fonts (Source)
To install it with Oh-My-Zsh run:
git clone --depth=1 https://github.com/romkatv/powerlevel10k.git ${ZSH_CUSTOM:-$HOME/.oh-my-zsh/custom}/themes/powerlevel10kIn your ~/.zshrc, find ZSH_THEME and set it to:
ZSH_THEME="powerlevel10k/powerlevel10k"(If you use Vim, do yourself a favour and add the line syntax on to your .vimrc)
Next restart Zsh:
exec zshThe Powerlevel10k configuration wizard should start by itself. If it doesn’t run the following command:
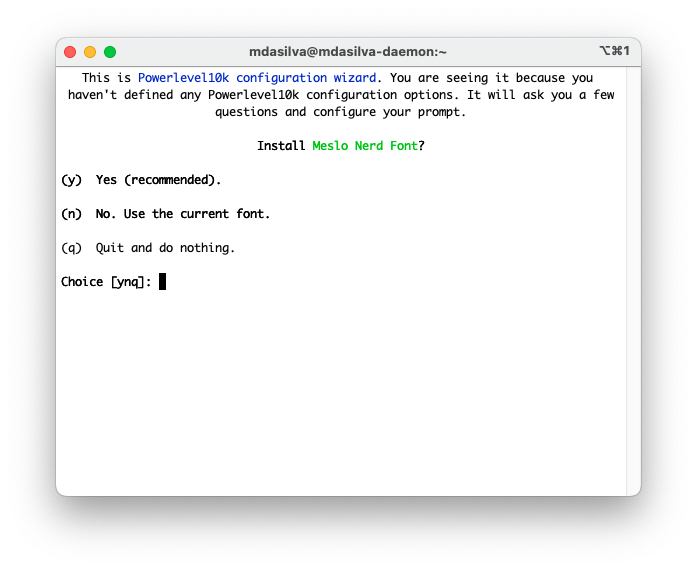
p10k configureYou should be prompted to install Meslo Nerd Font. You MUST install it otherwise you won’t get the best out of P10k. If you don’t get this prompt, there’s a guide to installing it manually here.
After installing, Quit (cmd + Q) and restart iTerm to continue with the initial setup.
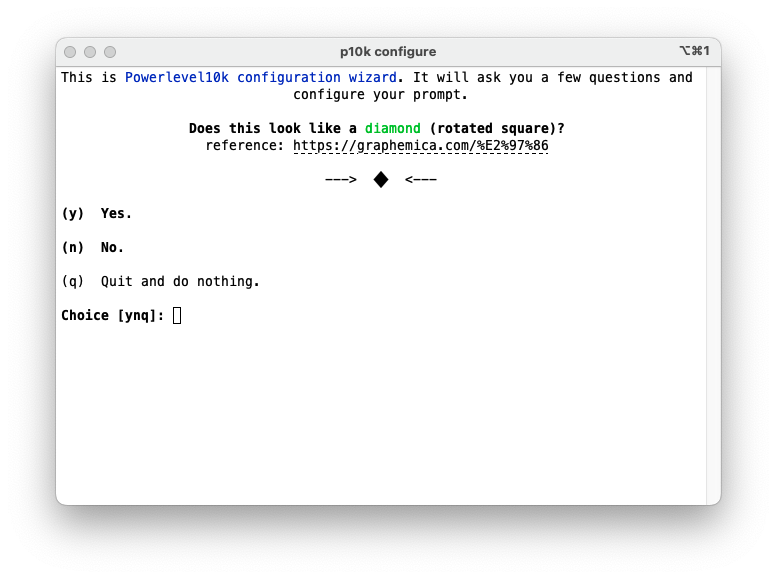
Follow the configuration wizard through and select your desired config.
Note: You should be able to able to answer ‘Yes’ to the first 4 questions. If you can’t, go to iTerm ➝ Preferences ➝ Profiles ➝ Text and check that MesloLGS NF is the selected font.
My configuration is:
(y) Yes; (y) Yes; (y) Yes; (y) Yes; (3) Rainbow; (1) Unicode; (1) No; (1) Angled; (1) Sharp; (5) Round; (1) One Line; (2) Sparse; (2) Many Icons; (1) Concise; (n) No; (1) Verbose; (y) Yes.
iTerm Configuration
Now let’s make iTerm slide out/drop down and tweak the display.
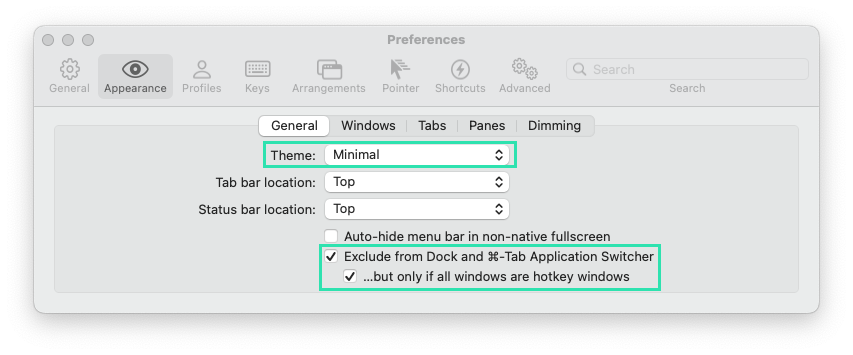
Navigate to iTerm ➝ Preferences (⌘ + ,) ➝ Appearance ➝ General:
Change Theme to Minimal; Check Exclude from Dock and ⌘-Tab Application Switcher and …but only if all windows are hotkey windows
Go to Profiles and create a new one.
Note: If you use an existing profile you may need to copy some of the config settings from your default profile otherwise the p10k theme may not display correctly..png?width=1400&height=995&name=pic1%20(1).png)
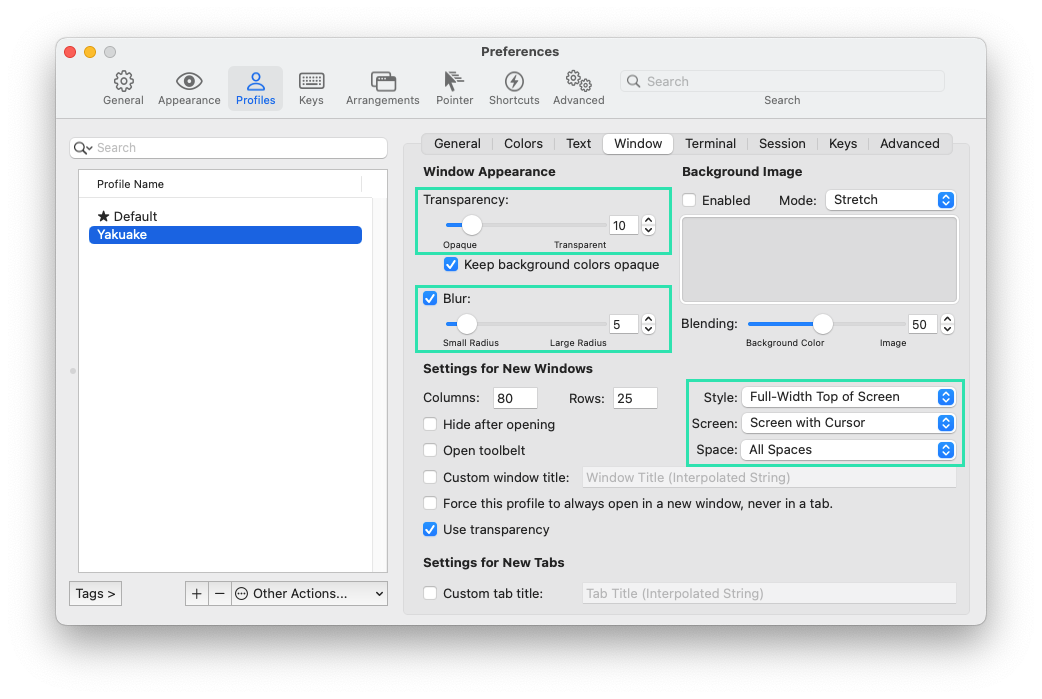
Go to Profiles ➝ Window:
Set Transparency to 10; Blur to 5; Style to Full-Width Top of Screen; Screen to Screen with Cursor; Space to All Spaces
Go to Profiles ➝ Window:
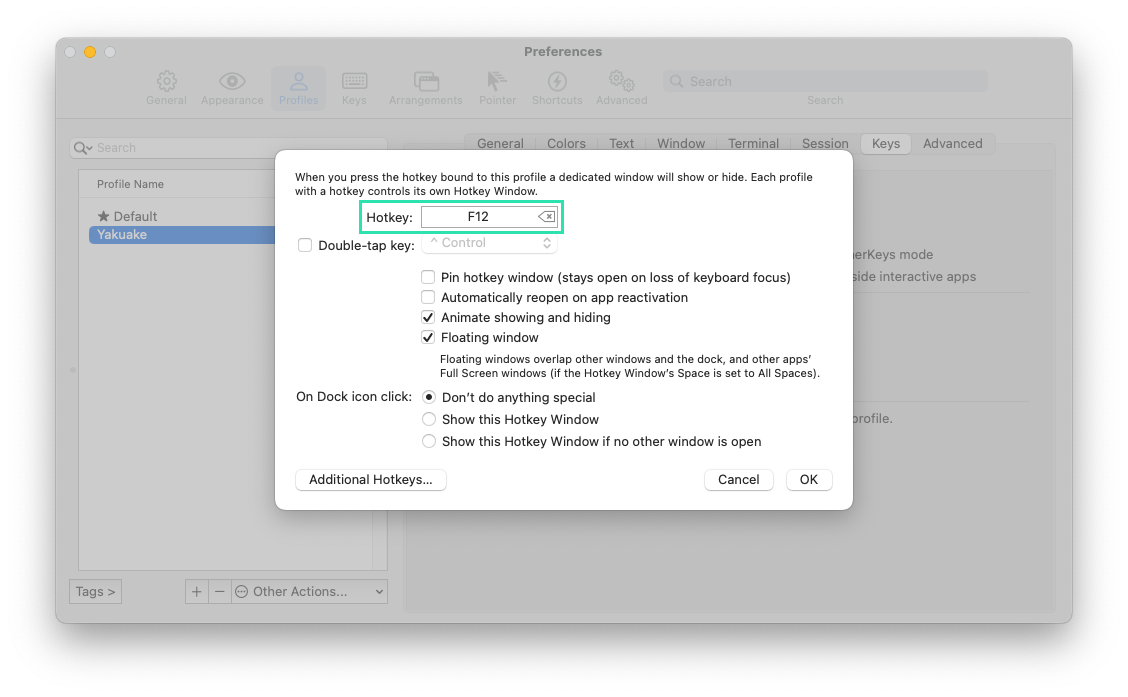
Check A hotkey opens a dedicated window with the profile and then select Configure Hotkey Window
 Record the hotkey you want to use (F12 is the default for Yakuake). Leave the other defaults.
 Optionally: Check Pin hotkey window if you only want the terminal to disappear on another hotkey press (i.e not when you select another window). Click Okay.
Run on Startup
When you hit your dedicated hotkey, you should be dazzled. Now you can go ahead and close the other iTerm profile window (⌘ + W).
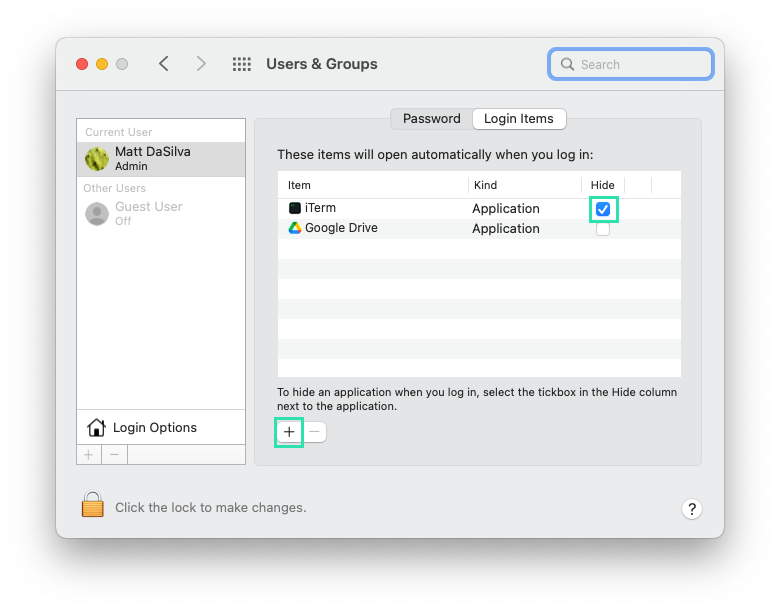
Next, we need to make it run on startup, otherwise our hotkey won’t work until you start iTerm manually after booting.
Go to System Preferences ➝ Users & Groups ➝ Login Items and add iTerm to the list. Check Hide
Note: If you ever quit iTerm (with ⌘ + Q) the hotkey will no longer work. You’ll need to restart iTerm manually.
Colour Palette
Let’s put the cherry on the cake and pick a nicer colour palette. Go to iTerm ➝ Preferences ➝ Profiles ➝ Colors. You can use the preloaded ones or head to Iterm Themes and find one you like. (I’m using Whimsy). Import it and select it for your HotKey Profile.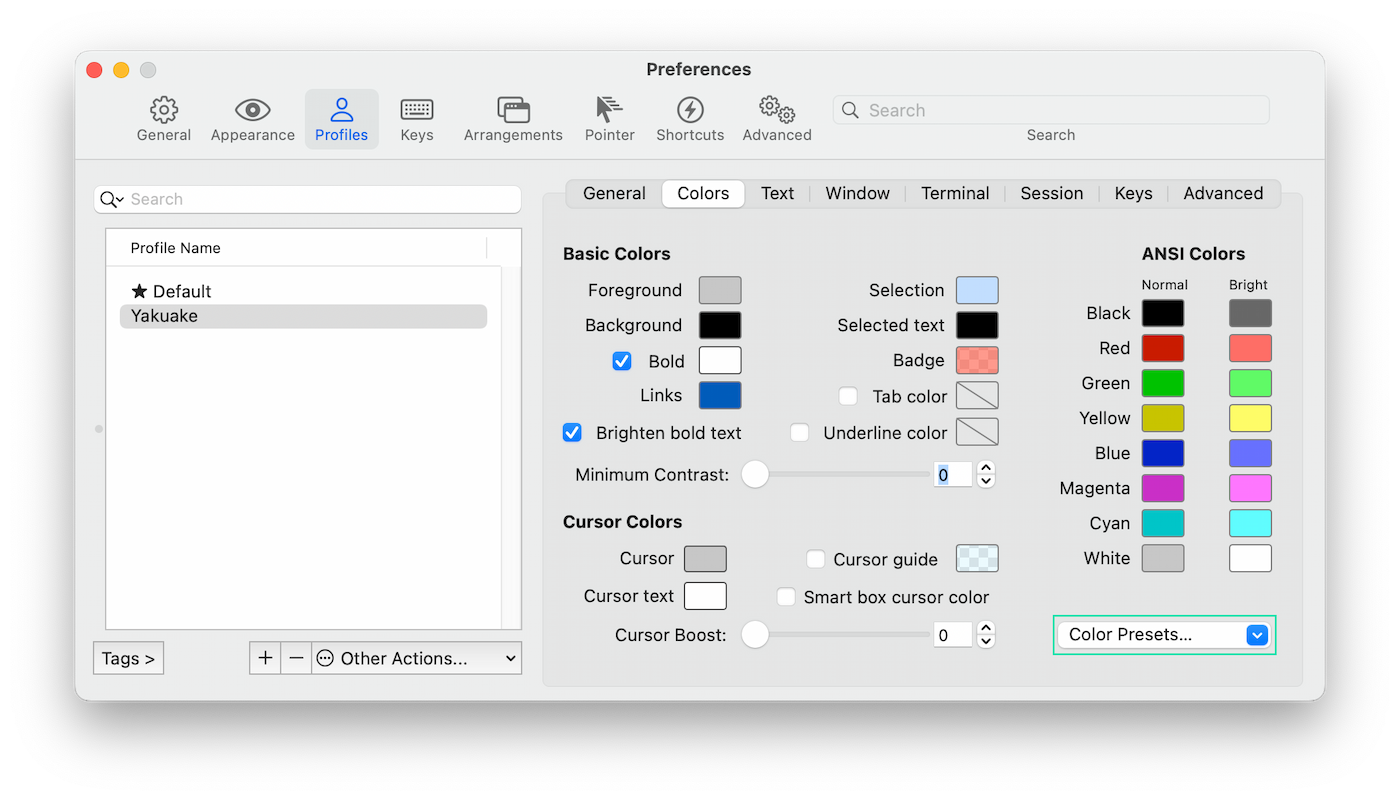
Final Suggestions
There are many other Z Shell plugins you can install via Oh-My-Zsh (or manually). Zsh-syntax-highlighting and zsh-autosuggestions are the aforementioned ones that come preinstalled with Yakuake. They will make your life easier. Just note that adding too many plugins will slow down your shell when starting a new session.
Now, sit back, relax and let the dev, ops itself.